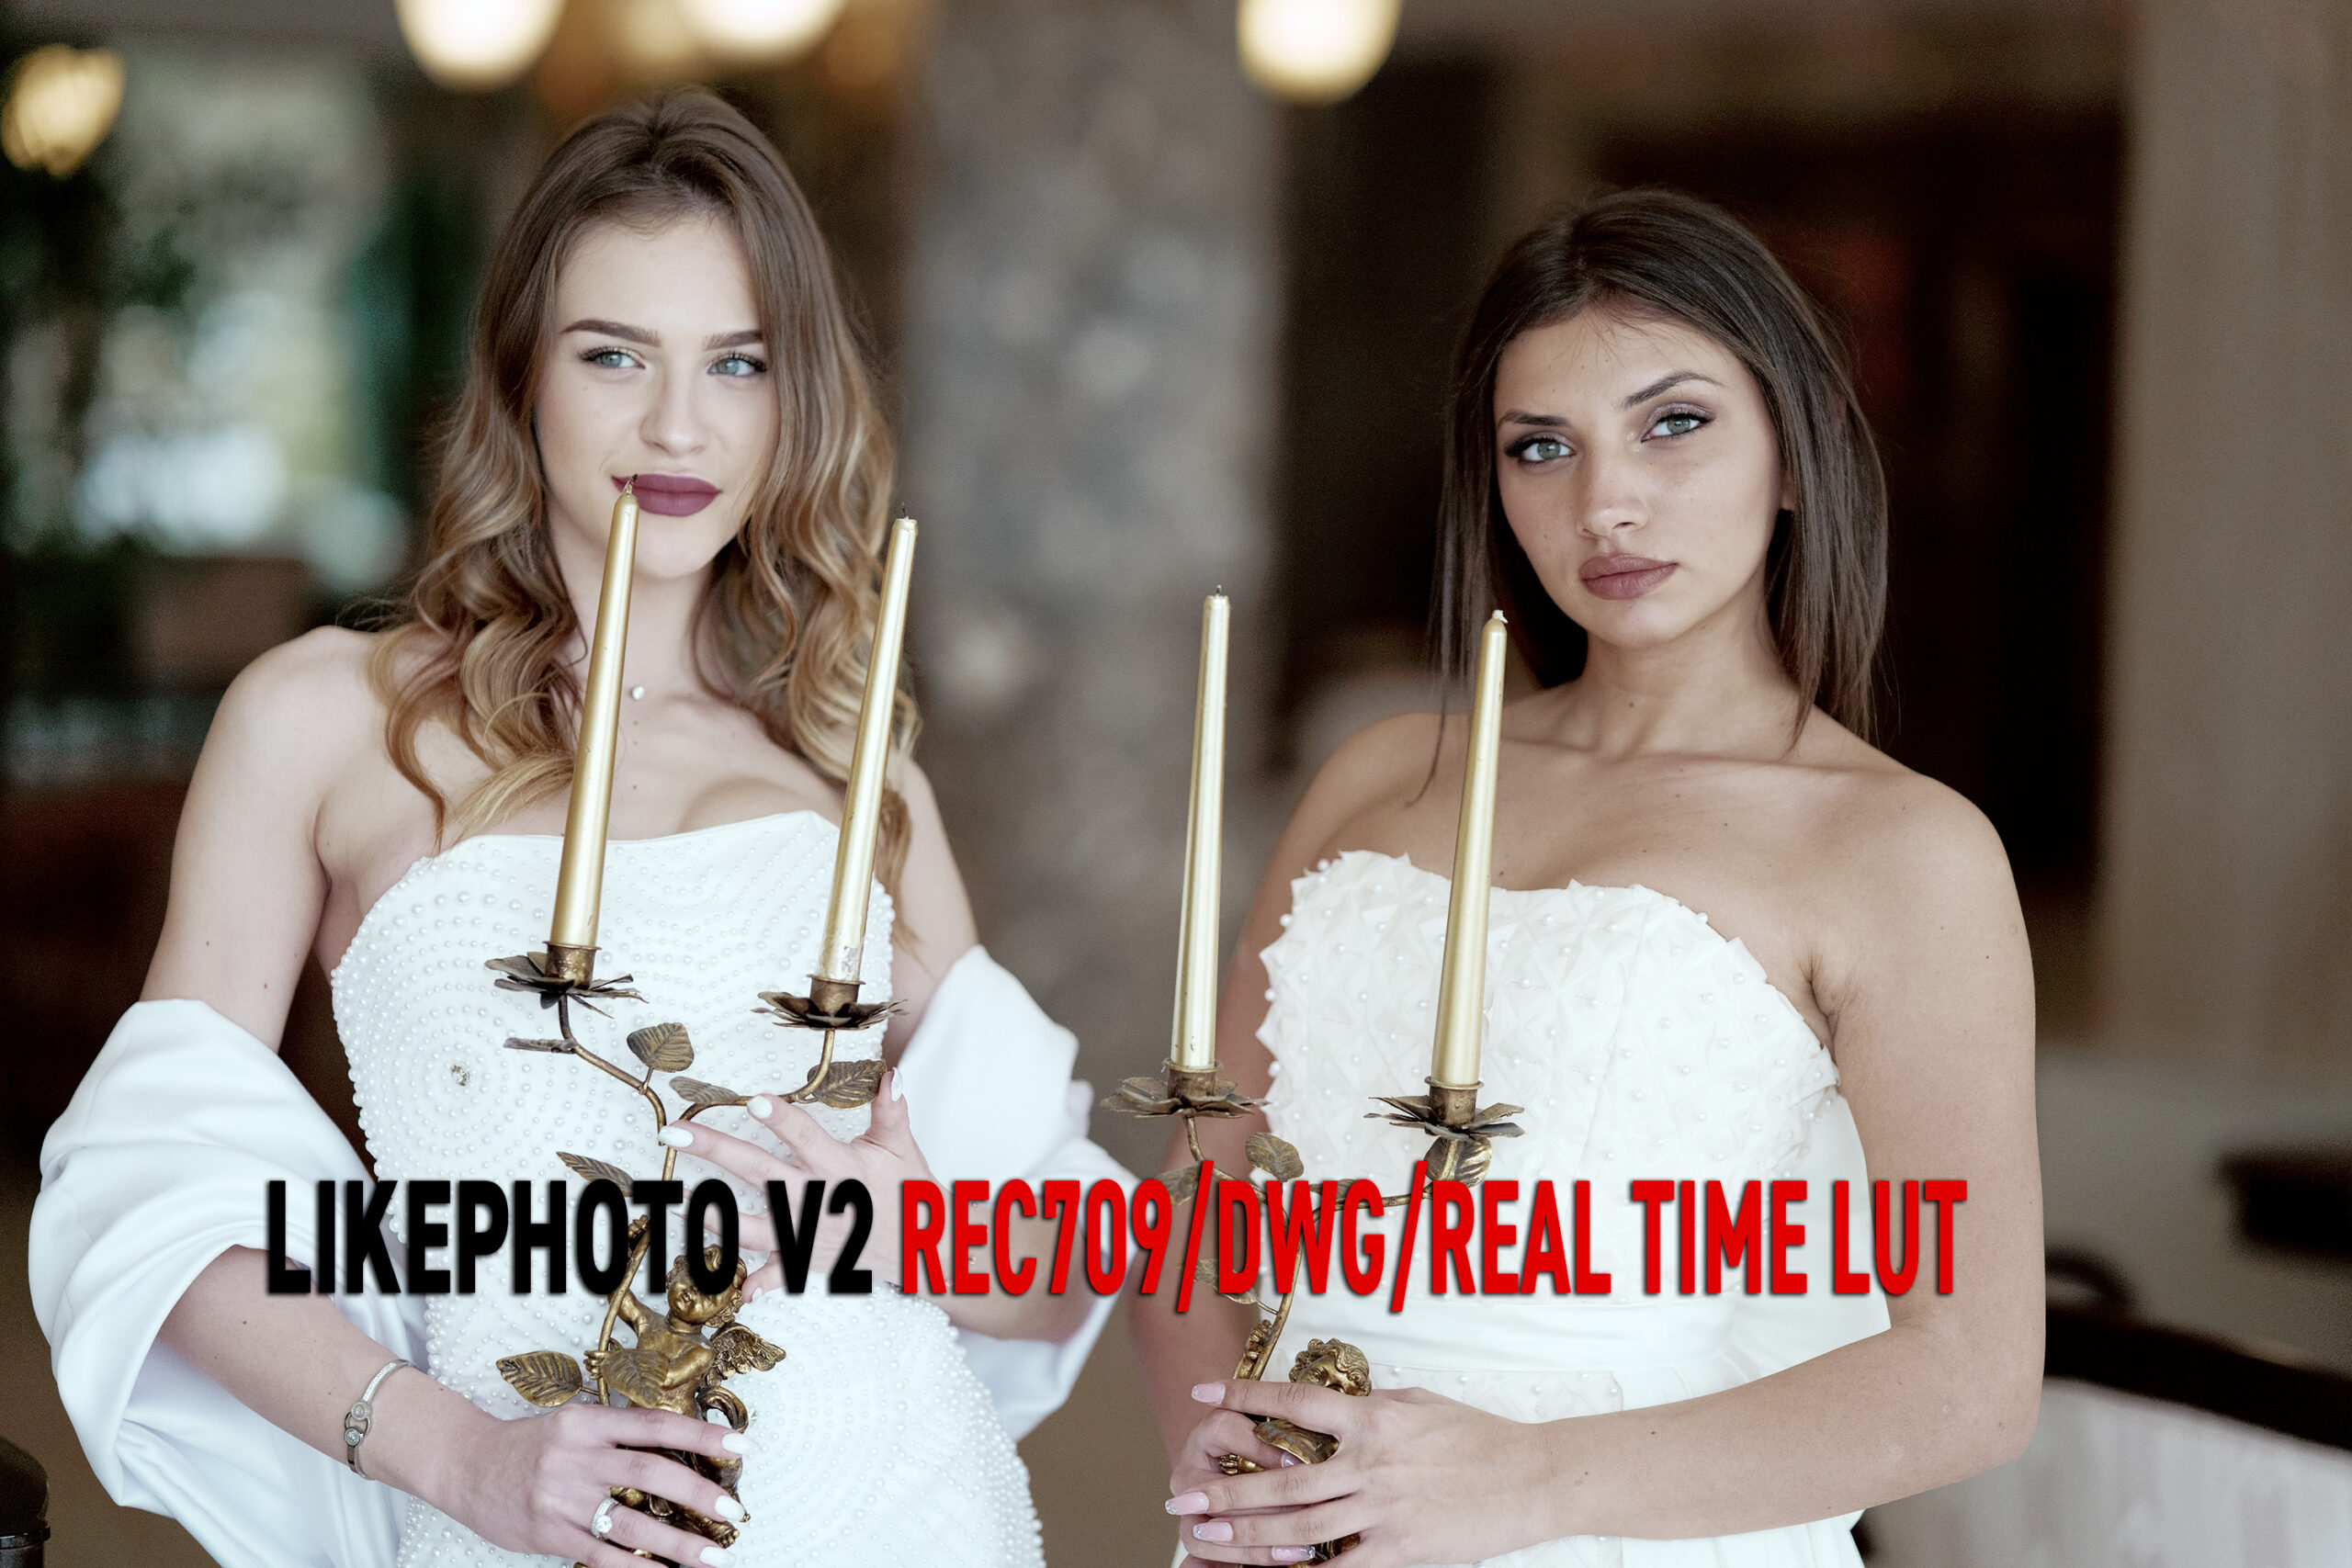
In this LUT, I’m bringing you my classic LikePhoto LUT for you to try. It represents a similar image to the classic photo picture profiles found in Lumix cameras with the added bonus of a more intricate design and finesse and a choice of color I’ve provided from my Driftwood palettes.
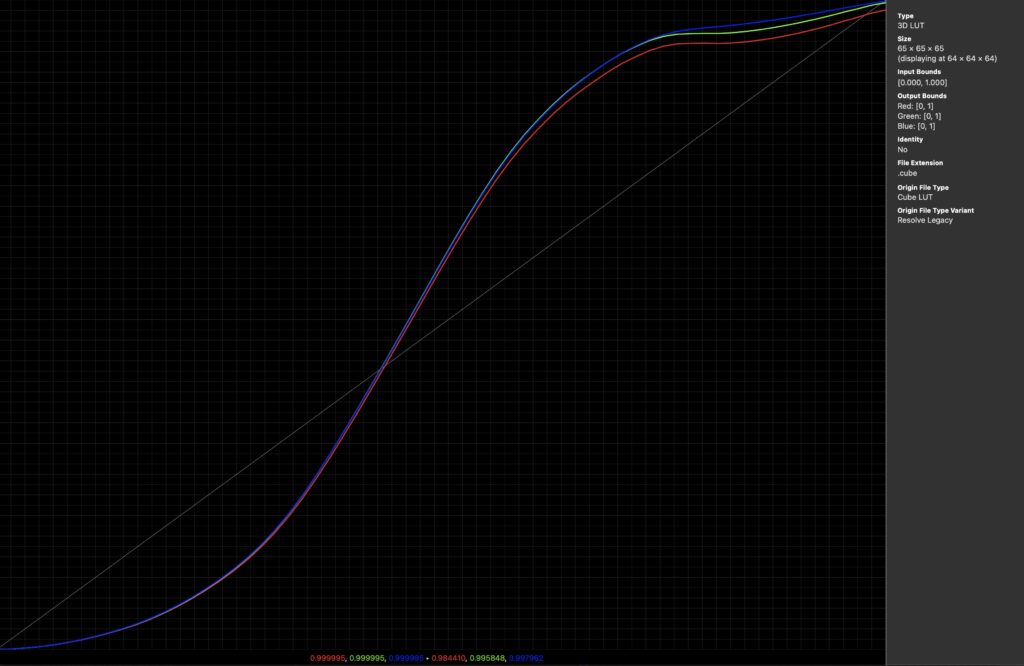
Here’s the LikePhotoV2 Rec709 Chart (notice the red channel is much less pronounced)
Inside the zip (which you will find at the bottom of this page), you will not only discover the Rec709 Gamma 2.4 65 size (NLEs), 33 size (for monitors/NLEs), and 17 point size Panasonic VLT (to use in camera) versions but ALSO a Davinci Resolve Wide Gamut Intermediate to DWG/Intermedia version for grading with DR in ACES, PQ, HLG, P3 and even SDR rec.709 which you can use in Davinci Resolve. The DWG (Davinci Wide Gamut) version enjoys the feature of you being able to fully use the luminance (shadows and highlights) and color of Davinci Wide Gamut projects and subsequently produce any final output from it – i.e. you are not restricted in its use like you are with the Rec709 version. However, if you are on a strict Rec709 Timeline & Output then use the Rec709 65 point version in Resolve, FCPX, Premiere, Photoshop etc…
Here’s the LikePhotoV2 Rec709 Graph
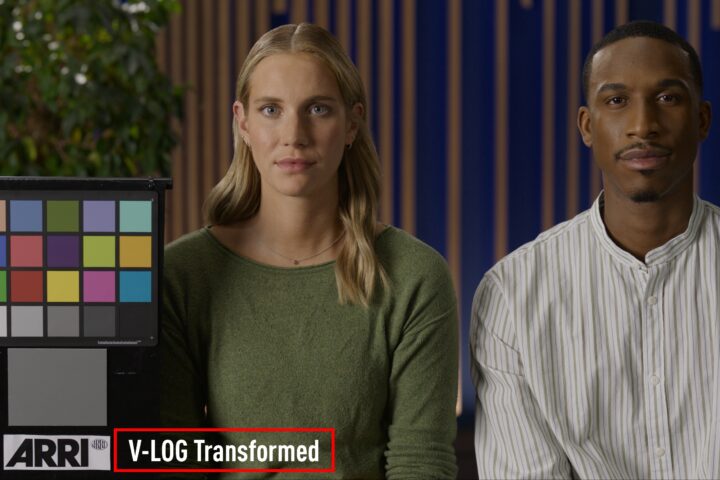
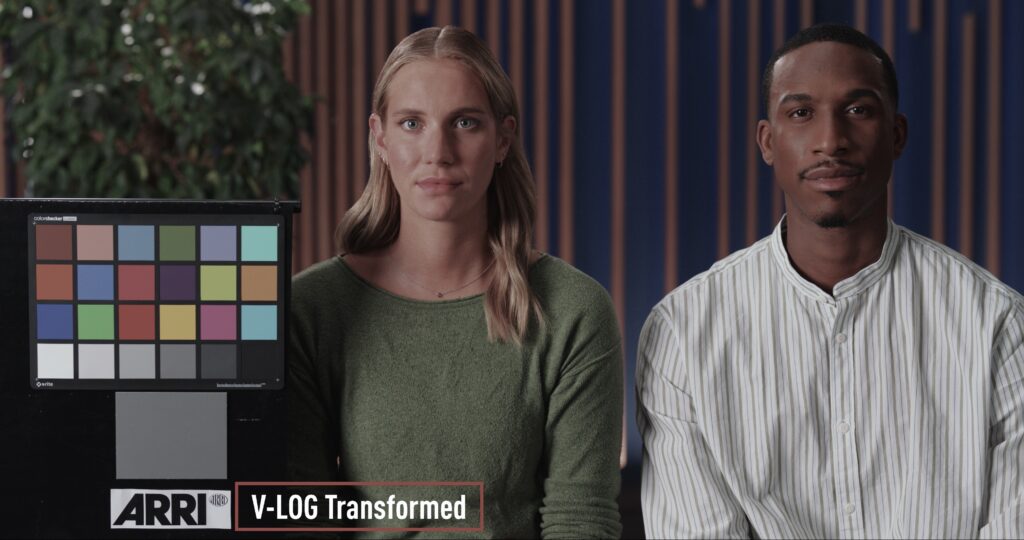
Real Time LUT users will be pleased to know they can use the Rec709 Panasonic VLT 17 size version inside their Panasonic Lumix S5II/X cameras. Simply copy it to your SD card and load into your LUT Library and select it in the picture profile ‘Real Time LUT’ to burn in the image to photos or video. V-Log View Assist users for other Lumix cameras with V Log can visualise it on their camera monitor instead of the standard V709 profile that Panasonic supplies.
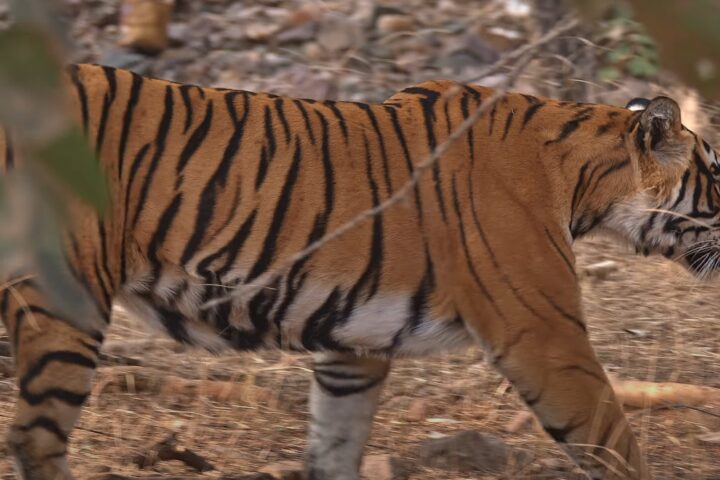
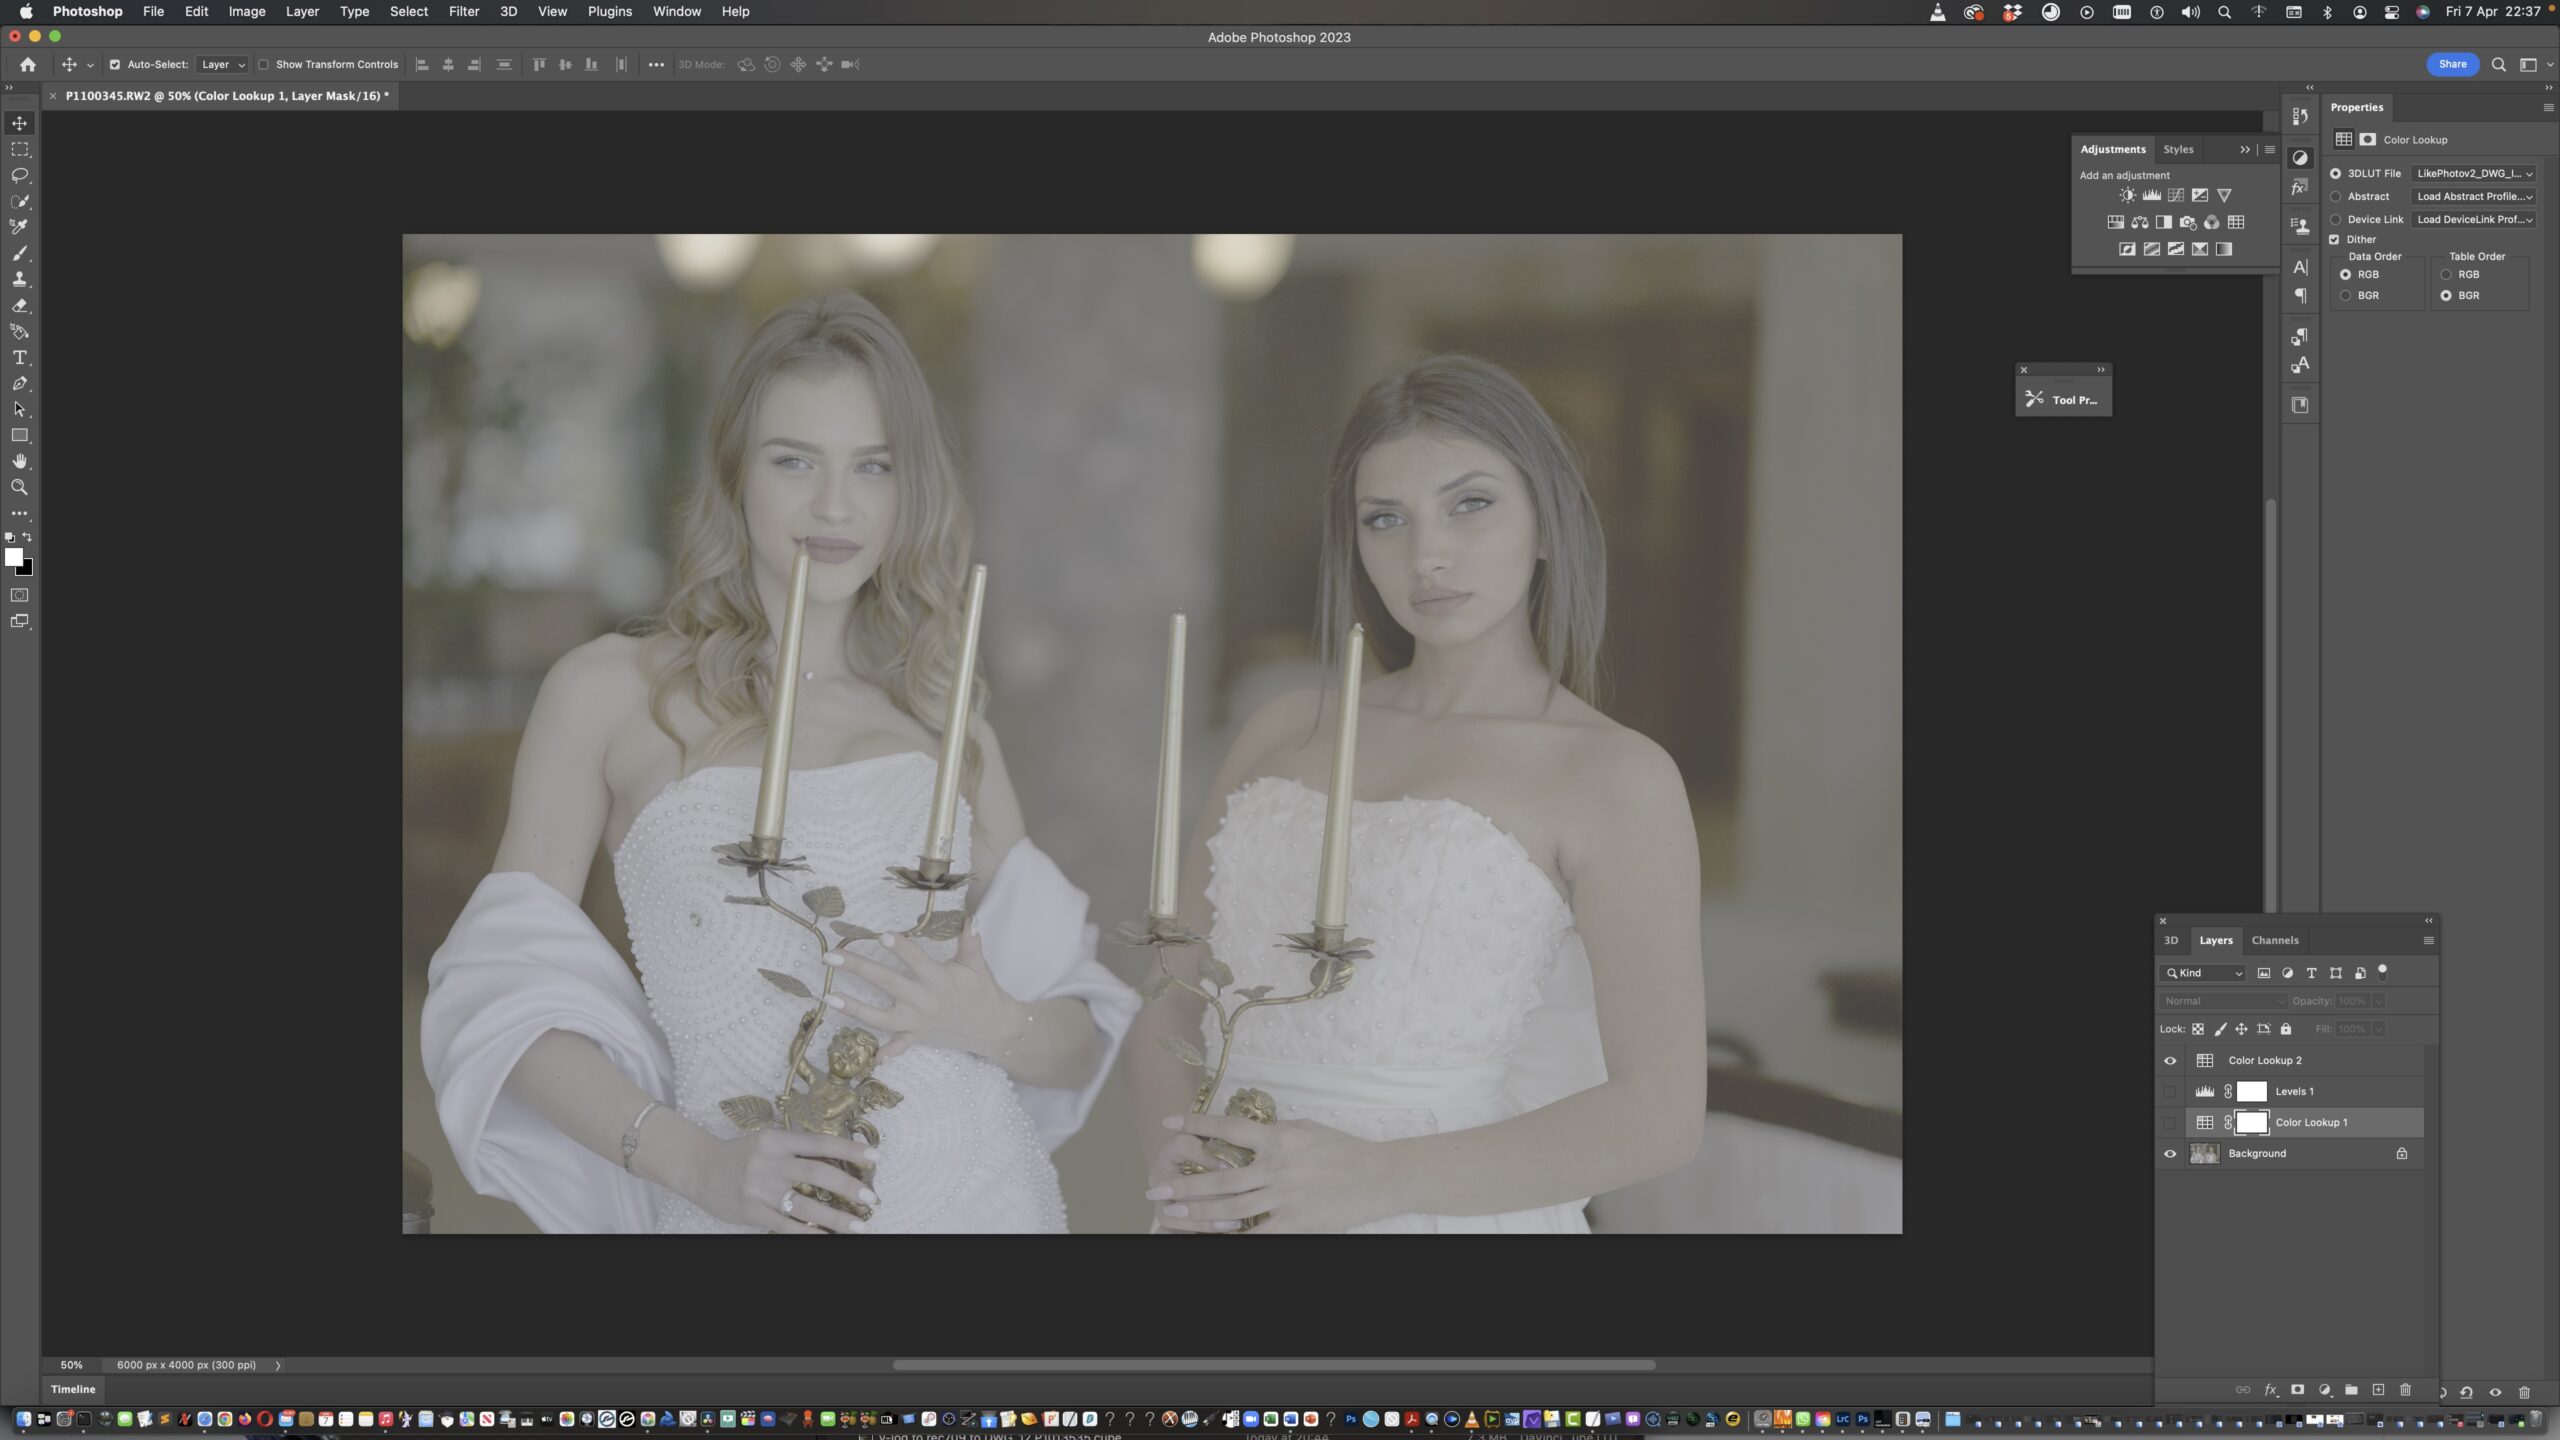
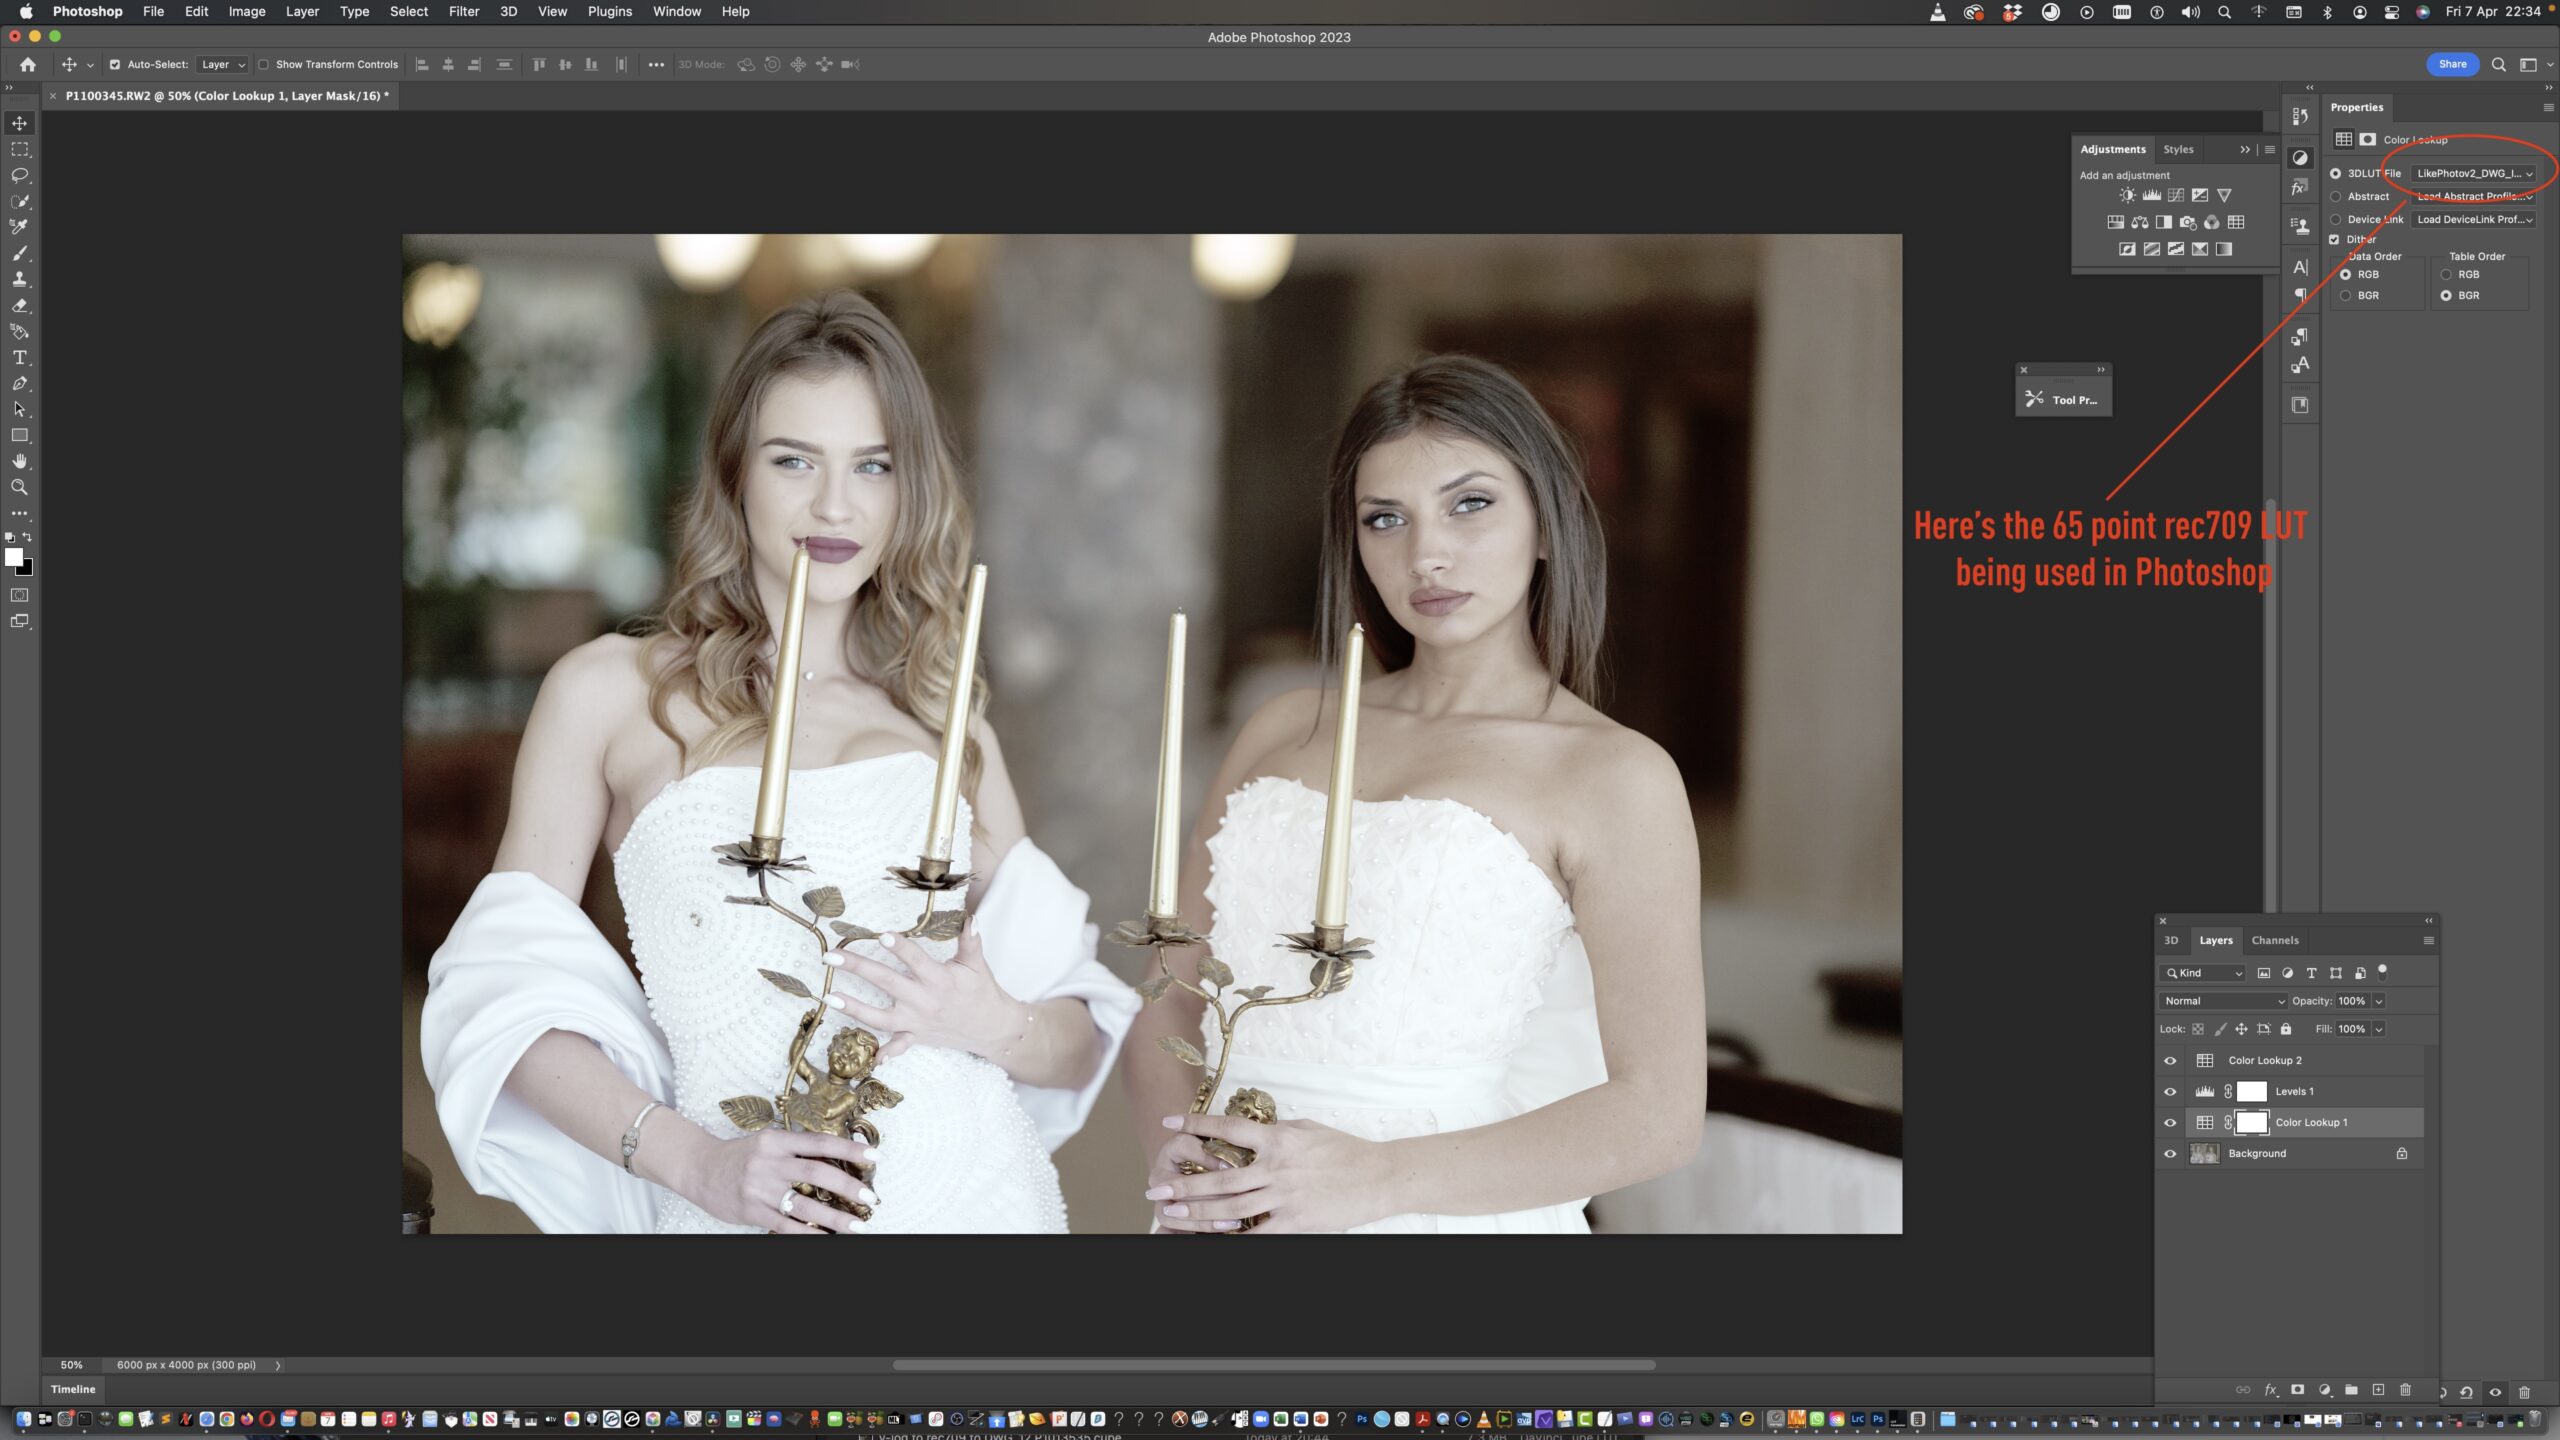
Here’s a quick look of the Rec709 LikePhotoV2 LUT in action inside Photoshop using the Adjustment Panel and selecting a 3DLUT (ie LikePhotoV2). How? The image was taken from a RAW file from the Lumix S5II, changed the setting to V-Log picture profile inside the Adobe Raw panel’s Camera Matching selector (choose V-Log), do nothing else but open it into Photoshop and then use the adjustment Panel to load the LUT selecting 3D Lut and open LikePhotoV2.
Davinci Wide Gamut Intermediate LUT Version
To use the DWG / Intermediate LUT version ensure your Resolve settings look like below or use a similar Input/Timeline/Output setup. Then goto the Color panel and place the LikePhotoV2 LUT on its the end node, and, do a normalise Exposure using Offset & further grades using ‘Add Node Before’ nodes i.e. BEFORE the LikePhotoV2 node. Also you can use the strength ‘Key Output’ function in Resolve to lessen its impact if required.
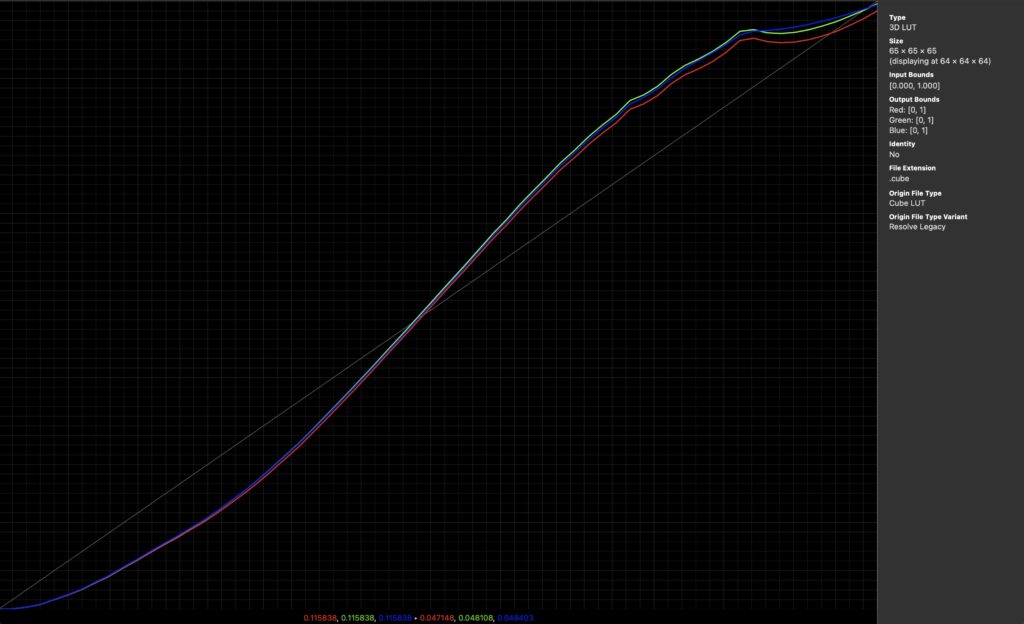
Here’s the Davinci Wide Gamut / Intermediate of LikePhoto v2 on the Graph (its the same color & contrast don’t worry!)
Download the zip set of files FREE by clicking this link: LikePhotoV2
Thanks for being here, see you again very soon!
Nick Driftwood